
Can I Wrap My Kitchen?
The videos make it seem so easy right? But that’s where looks can be deceiving.
We can’t tell you how many times we are called out to rewrap a kitchen that has gone wrong, so here is everything you need to know about whether you can wrap your own kitchen.
What DIY kitchen wrapping involves
The tutorials make it look straightforward, and on a single flat surface, it can be pretty straightforward. But a full kitchen has dozens of surfaces, all slightly different, and each one needs individual attention.
Before any vinyl goes anywhere near your cabinets, every surface needs to be cleaned thoroughly with a degreaser.
Your kitchen cupboards collect years of grease, steam residue, and cooking grime, especially around the handles and edges. If you skip this step or rush it, the adhesive won’t bond properly and the wrap will start lifting within weeks.
After cleaning, you need to sand any glossy or lacquered surfaces to create a key for the adhesive. Then wipe everything down again to remove the dust. If there are dents, chips, or filled holes from old handles, those need to be smoothed with filler and sanded flat.
Any imperfection in the surface will show through the vinyl once it’s applied.

Then there’s the measuring and cutting.
Each door, drawer front, and panel needs to be measured individually, because even kitchen units that look uniform often have slight variations in size.
Applying vinyl wrap means cutting each piece slightly oversize to allow for trimming, which means you’ll need a sharp blade, a steady hand, and a lot of patience.
Where wrap for kitchen starts to go wrong
The application itself is where most DIY kitchen wrapping projects come unstuck.
The first panel goes on reasonably smoothly, you trim the edges, and you think: this isn’t so bad.
Then you hit a corner. Or a curved edge. Or a section near the hinges where the vinyl needs to fold around a tight radius.
Suddenly, the material that seemed cooperative is bunching, creasing, and trapping air underneath.
You try to peel it back and reposition, but the adhesive has already grabbed and the surface you just prepared is now covered in sticky residue.
Air bubbles on kitchen cupboards
Even on flat surfaces, air bubbles are the constant enemy of DIY wrapping.
Professional installers use specific techniques to work air out from the centre toward the edges while applying the film under controlled tension.

Without that trained experience, bubbles form under the vinyl and become visible once the light catches them. You can prick small bubbles with a pin and press them flat, but the result looks amateur.
Texture on edges and seams
The edges of each panel are where the quality of the application really shows.
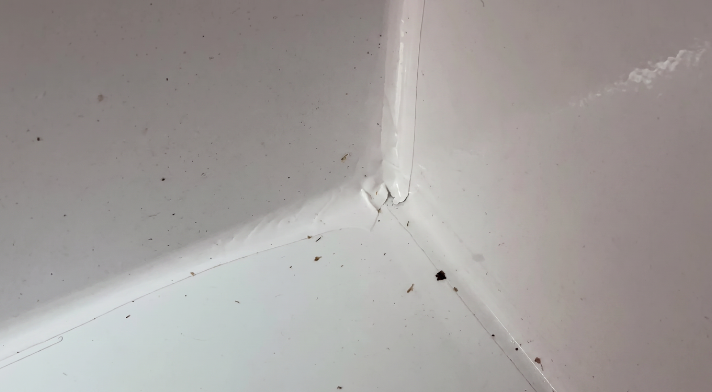
On a professionally wrapped kitchen, the vinyl is heat-formed around edges so it sits flush with no visible seam or lifted corner. With a DIY approach, getting the vinyl to fold cleanly around a 90-degree edge without wrinkling takes practice, and even then, the results can start peeling back after a few months of daily use.
Seams are another issue.
On larger panels or L-shaped sections, you may need to join two pieces of vinyl sheets together. A visible seam running across a cabinet door or along a worktop is hard to hide. Over time, it collects moisture and dirt making it even more obvious.
Handles, hinges, and cutouts
Every kitchen has handles, hinges, and hardware that need to be worked around.
But cutting precise holes for the fixings is hard.
It means unscrewing every door, remembering which hinge goes where (they’re not always identical), wrapping each piece individually, and then realigning everything when you put it all back.
On a kitchen with 20 or more doors and drawers, that’s a full weekend of work before you’ve even started applying vinyl.
Vinyl kitchen material matters more than you’d think
Not all vinyl wrap is the same, and the rolls you find online for a few pounds per metre are not the same product that professional kitchen wrapping companies use.
It is thinner, less conformable, and has a weaker adhesive backing.
We won’t deny that it can work well enough on flat, smooth surfaces like laptops or plain furniture panels, but your kitchen is a high-traffic kitchen environment.
Heat from the hob and oven, steam from the kettle, grease splashes, and daily handling all take a toll.
Cheaper material isn’t scratch resistant in the way professional film is, and within six months to a year, you’ll often see edges peeling back, discolouration near heat sources, and a general dullness where the finish has degraded.
Importance of using vinyl wrap from professionals
Professional-grade architectural film is a different product entirely.
It’s thicker, more durable, more conformable around curves and edges, and uses a pressure-sensitive adhesive designed for long-lasting bonding on kitchen surfaces.
Quality vinyl like this comes in finish options that are printed and textured to a standard that consumer products simply can’t match.
And because the film has more body to it, a professionally wrapped surface feels like a new door rather than a door with something stuck on it.
Time, frustration, and the half-finished wrap kitchen
Most estimates put DIY kitchen wrapping at 6 to 10 hours of labour for an average-sized kitchen. That assumes everything goes smoothly, which it rarely does on a first attempt.
In practice, many people spend an entire weekend on the project and still don’t finish, because each door takes longer than expected and the mistakes on the first few panels need to be redone.
And then there’s the waste,
Vinyl that’s been cut wrong or applied badly can’t be reused.
A single miscut on a large panel means you need a whole new piece, and if you run out of material mid-project, the next roll might be from a different batch with a slightly different shade.
Save yourself the time, energy, and money, and get it done correctly the first time by hiring a professional.

When DIY might be fine
We’re not going to pretend that every kitchen wrapping job needs a professional.
If you want to wrap a single cupboard door to test the look, or refresh the inside of a pantry that nobody sees, DIY vinyl from a hardware shop will do the job.
Same goes for wrapping the side of a fridge or a splashback panel with no edges to worry about.
But if you are after a seamless, professional finish that can hold up to steam, heat, grease, cleaning products, and thousands of daily touches over several years? Always count on a professional wrapping process.
What a professional kitchen wrap looks like
A professional wrapping service starts with a full survey of your kitchen.
The installer checks every surface for damage, measures each door and panel precisely, and discusses finish options with you so the colour and texture work with your existing worktops, splashbacks, flooring, and lighting.
It’s a complete kitchen makeover without the disruption of a full kitchen renovation and replacing kitchen cabinets.
The preparation is thorough.
Doors are removed. Surfaces are degreased, sanded where necessary, and primed. Damaged areas are filled and smoothed before any film is applied.
Application uses professional-grade architectural film applied under controlled tension with commercial squeegees and heat guns. We work hard to eliminate air for full adhesion to a surface.
Edges are heat-formed to wrap around corners seamlessly, and any cutouts for handles or hinges are made with precision blades at exact positions.
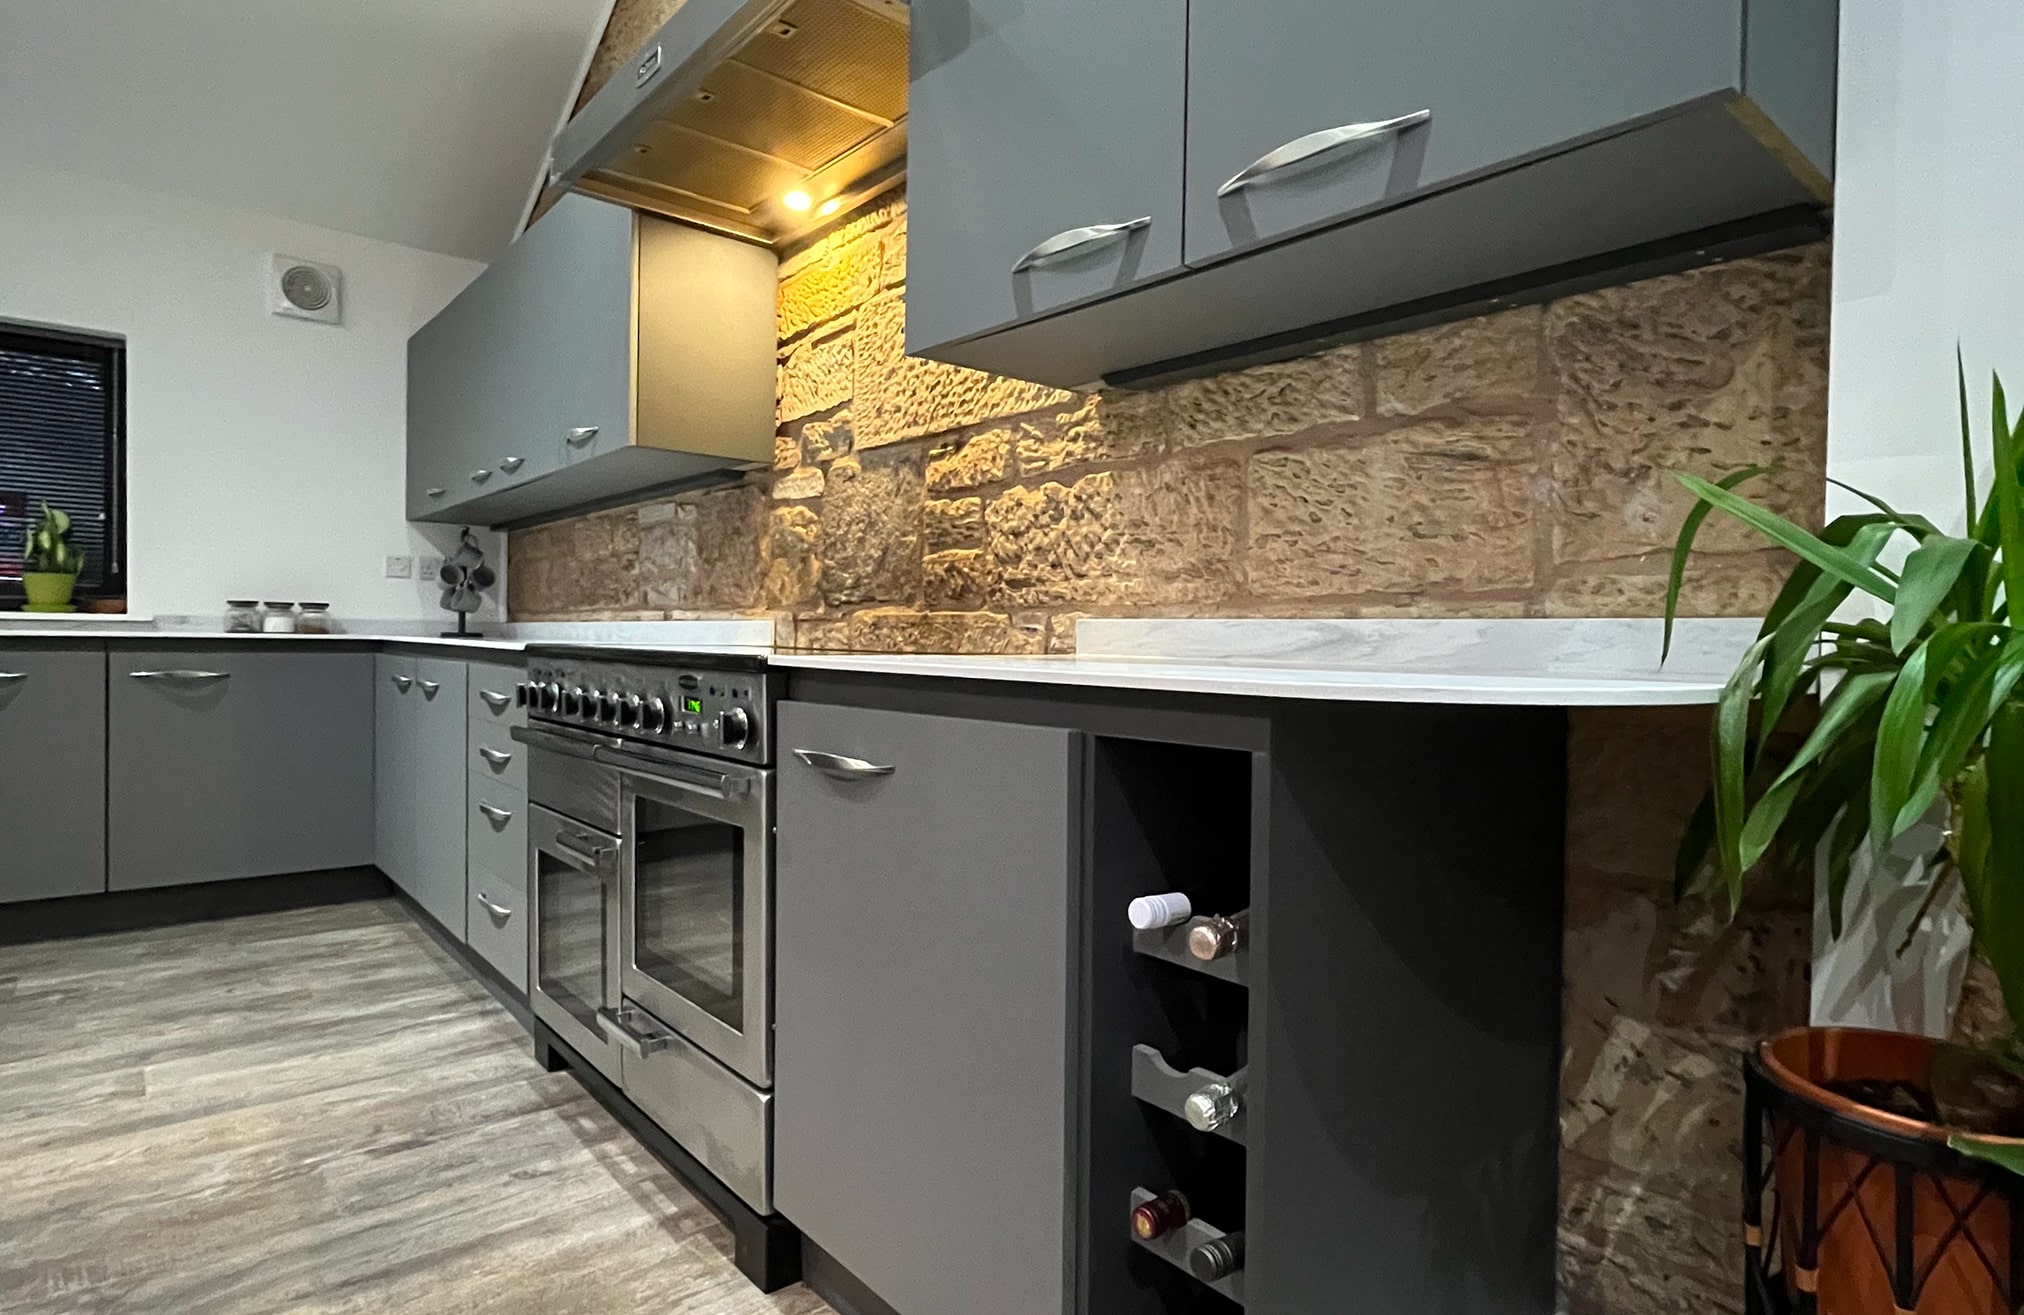
The result is a kitchen that looks and feels like a new kitchen. No visible seams, no bubbles, no lifting edges.
Just a clean, consistent finish that can transform every surface in the room.
Ready transform your kitchen cabinets and kitchen units?
If you have been thinking about wrapping your kitchen as a cost-effective alternative to renovation, Wrap Wizard would love to speak with you.
We have years of trusted experience wrapping kitchens all over Scotland, and know how to deliver fantastic results on every job.
For your free quote, reach out to our friendly team today on 0141 777 5027.